vrijdag 29 juli 2022

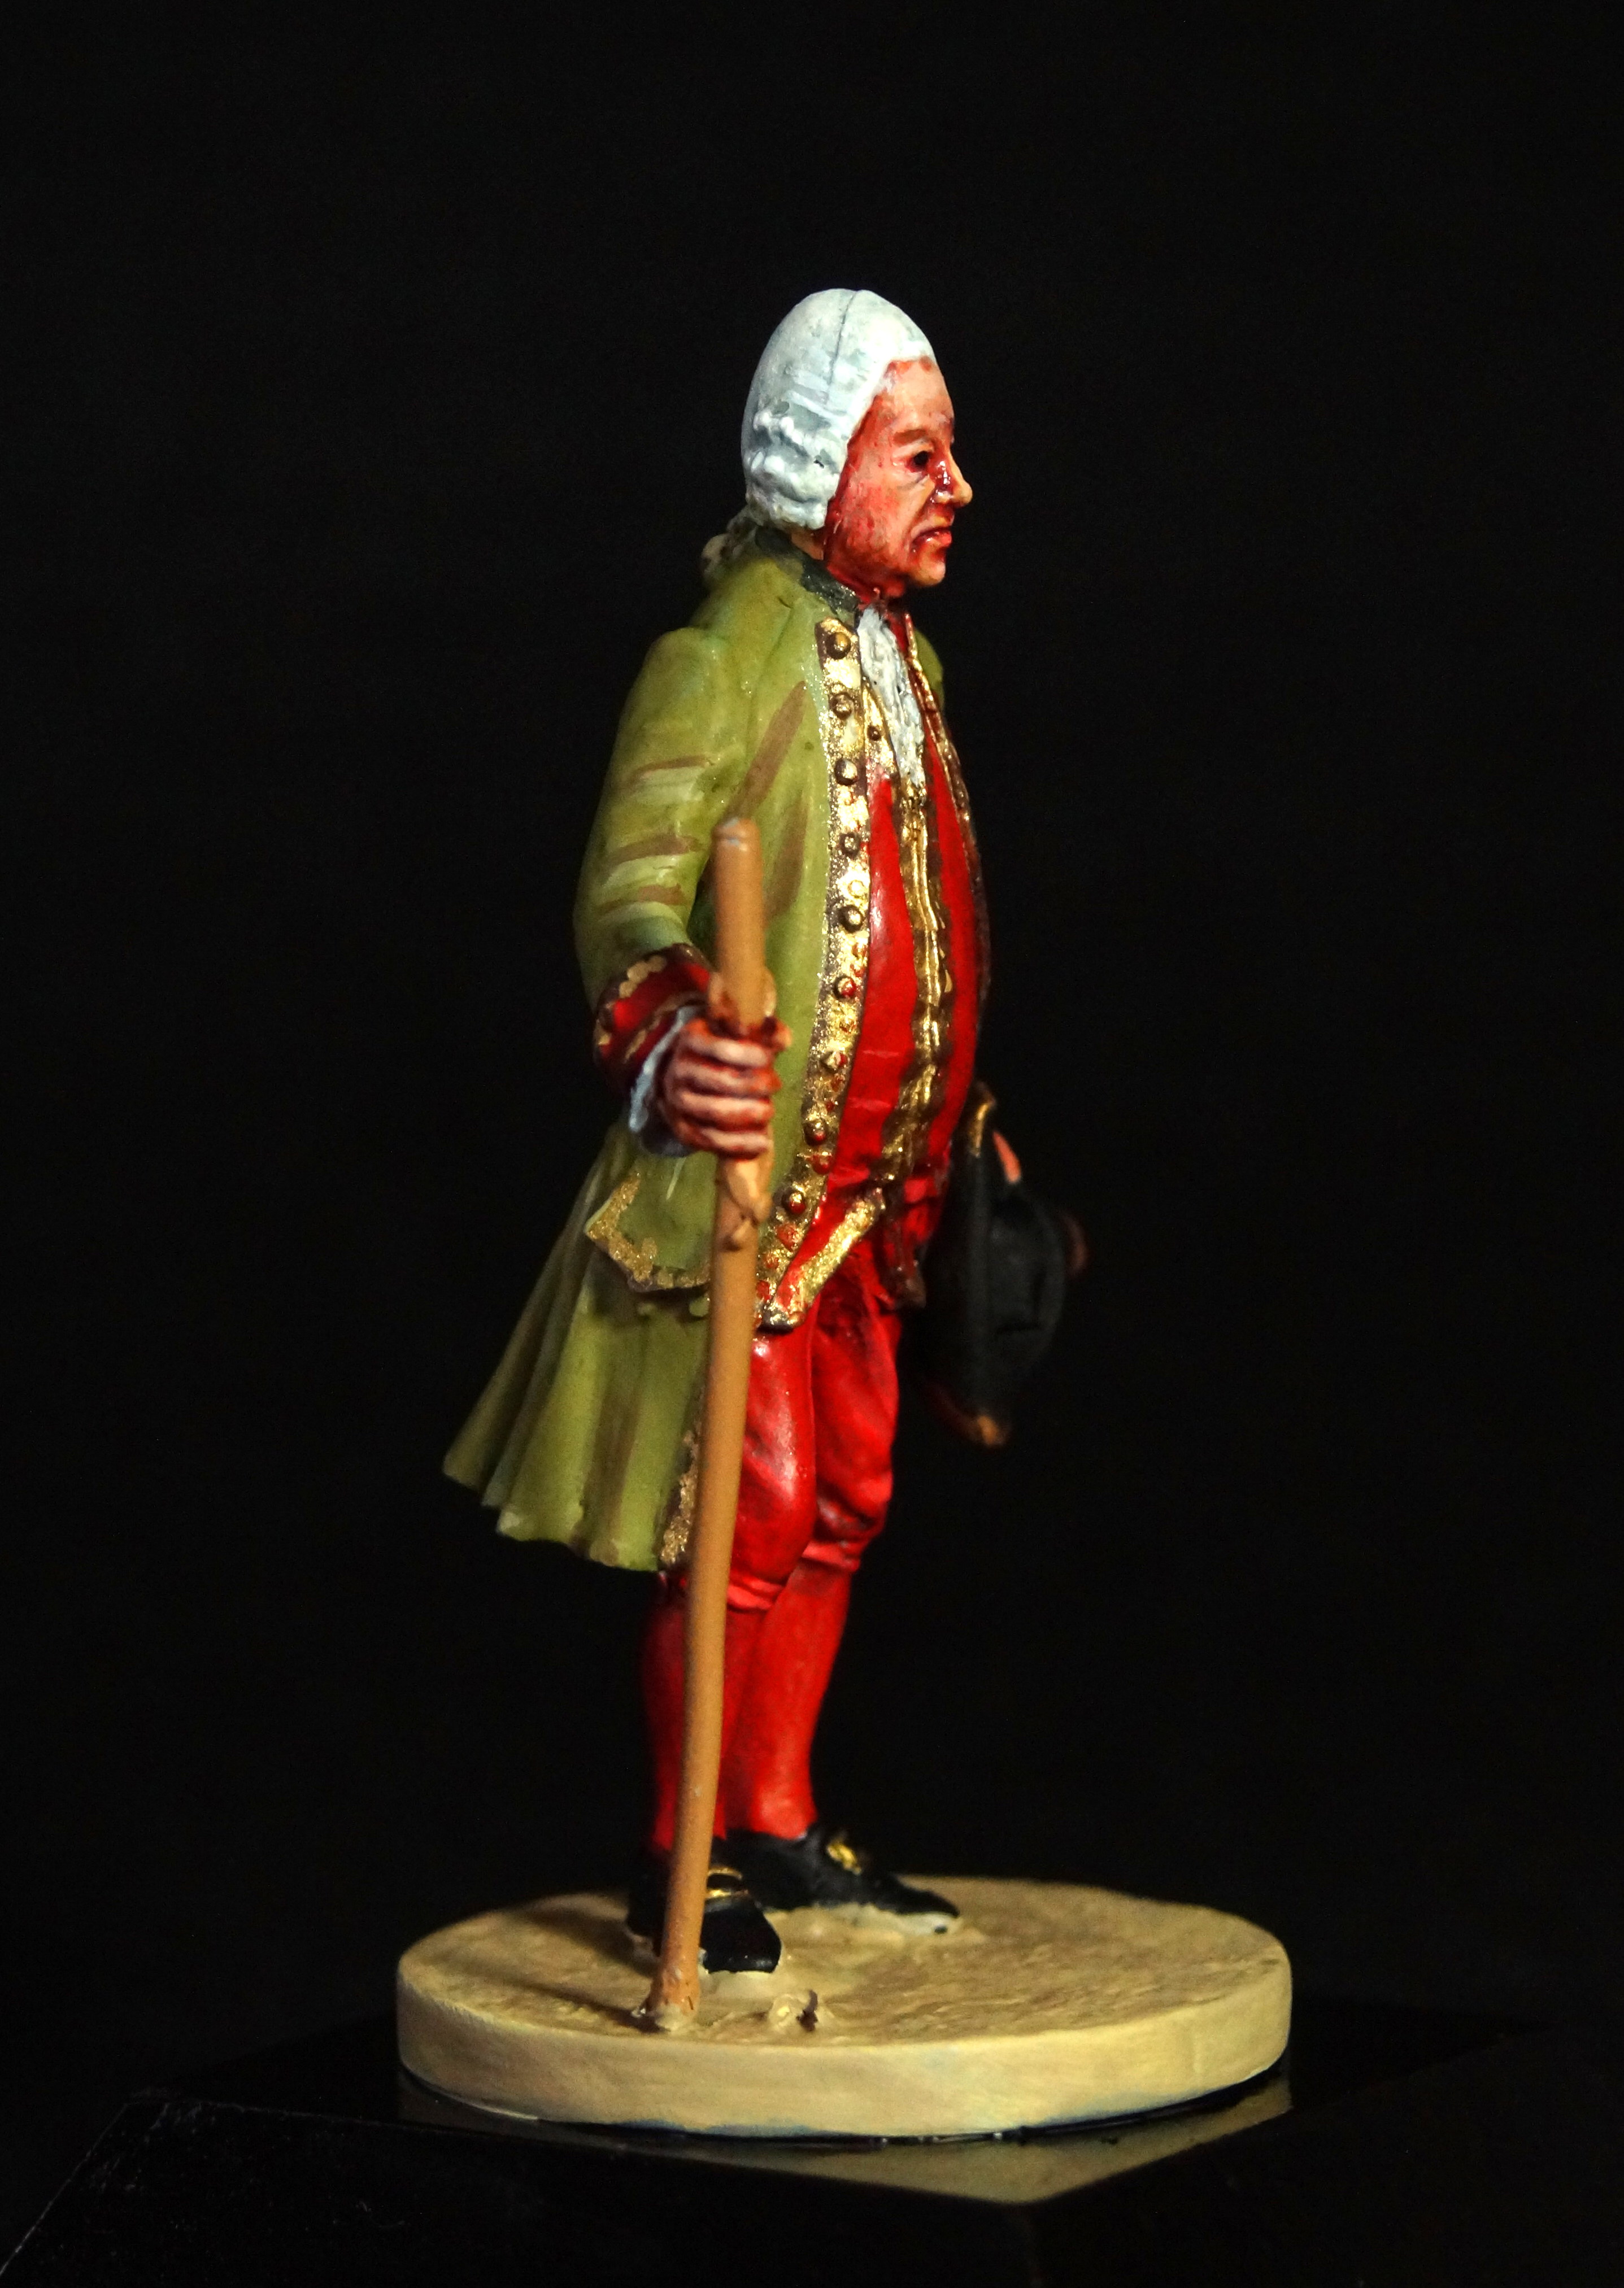
French Commisary of the American Revolution

 A friend of mine had this figure somewhere in his stash and he gave it to me. I repainted it into a French war commisary from the American war of Revolution because of a nice picture I found in the John Mollo book of the American Revolution War. I don't know who is the sculptor but is a nice sculpted figure.

Painted in Vallejo colors, scale is 54 mm


vrijdag 1 juli 2022

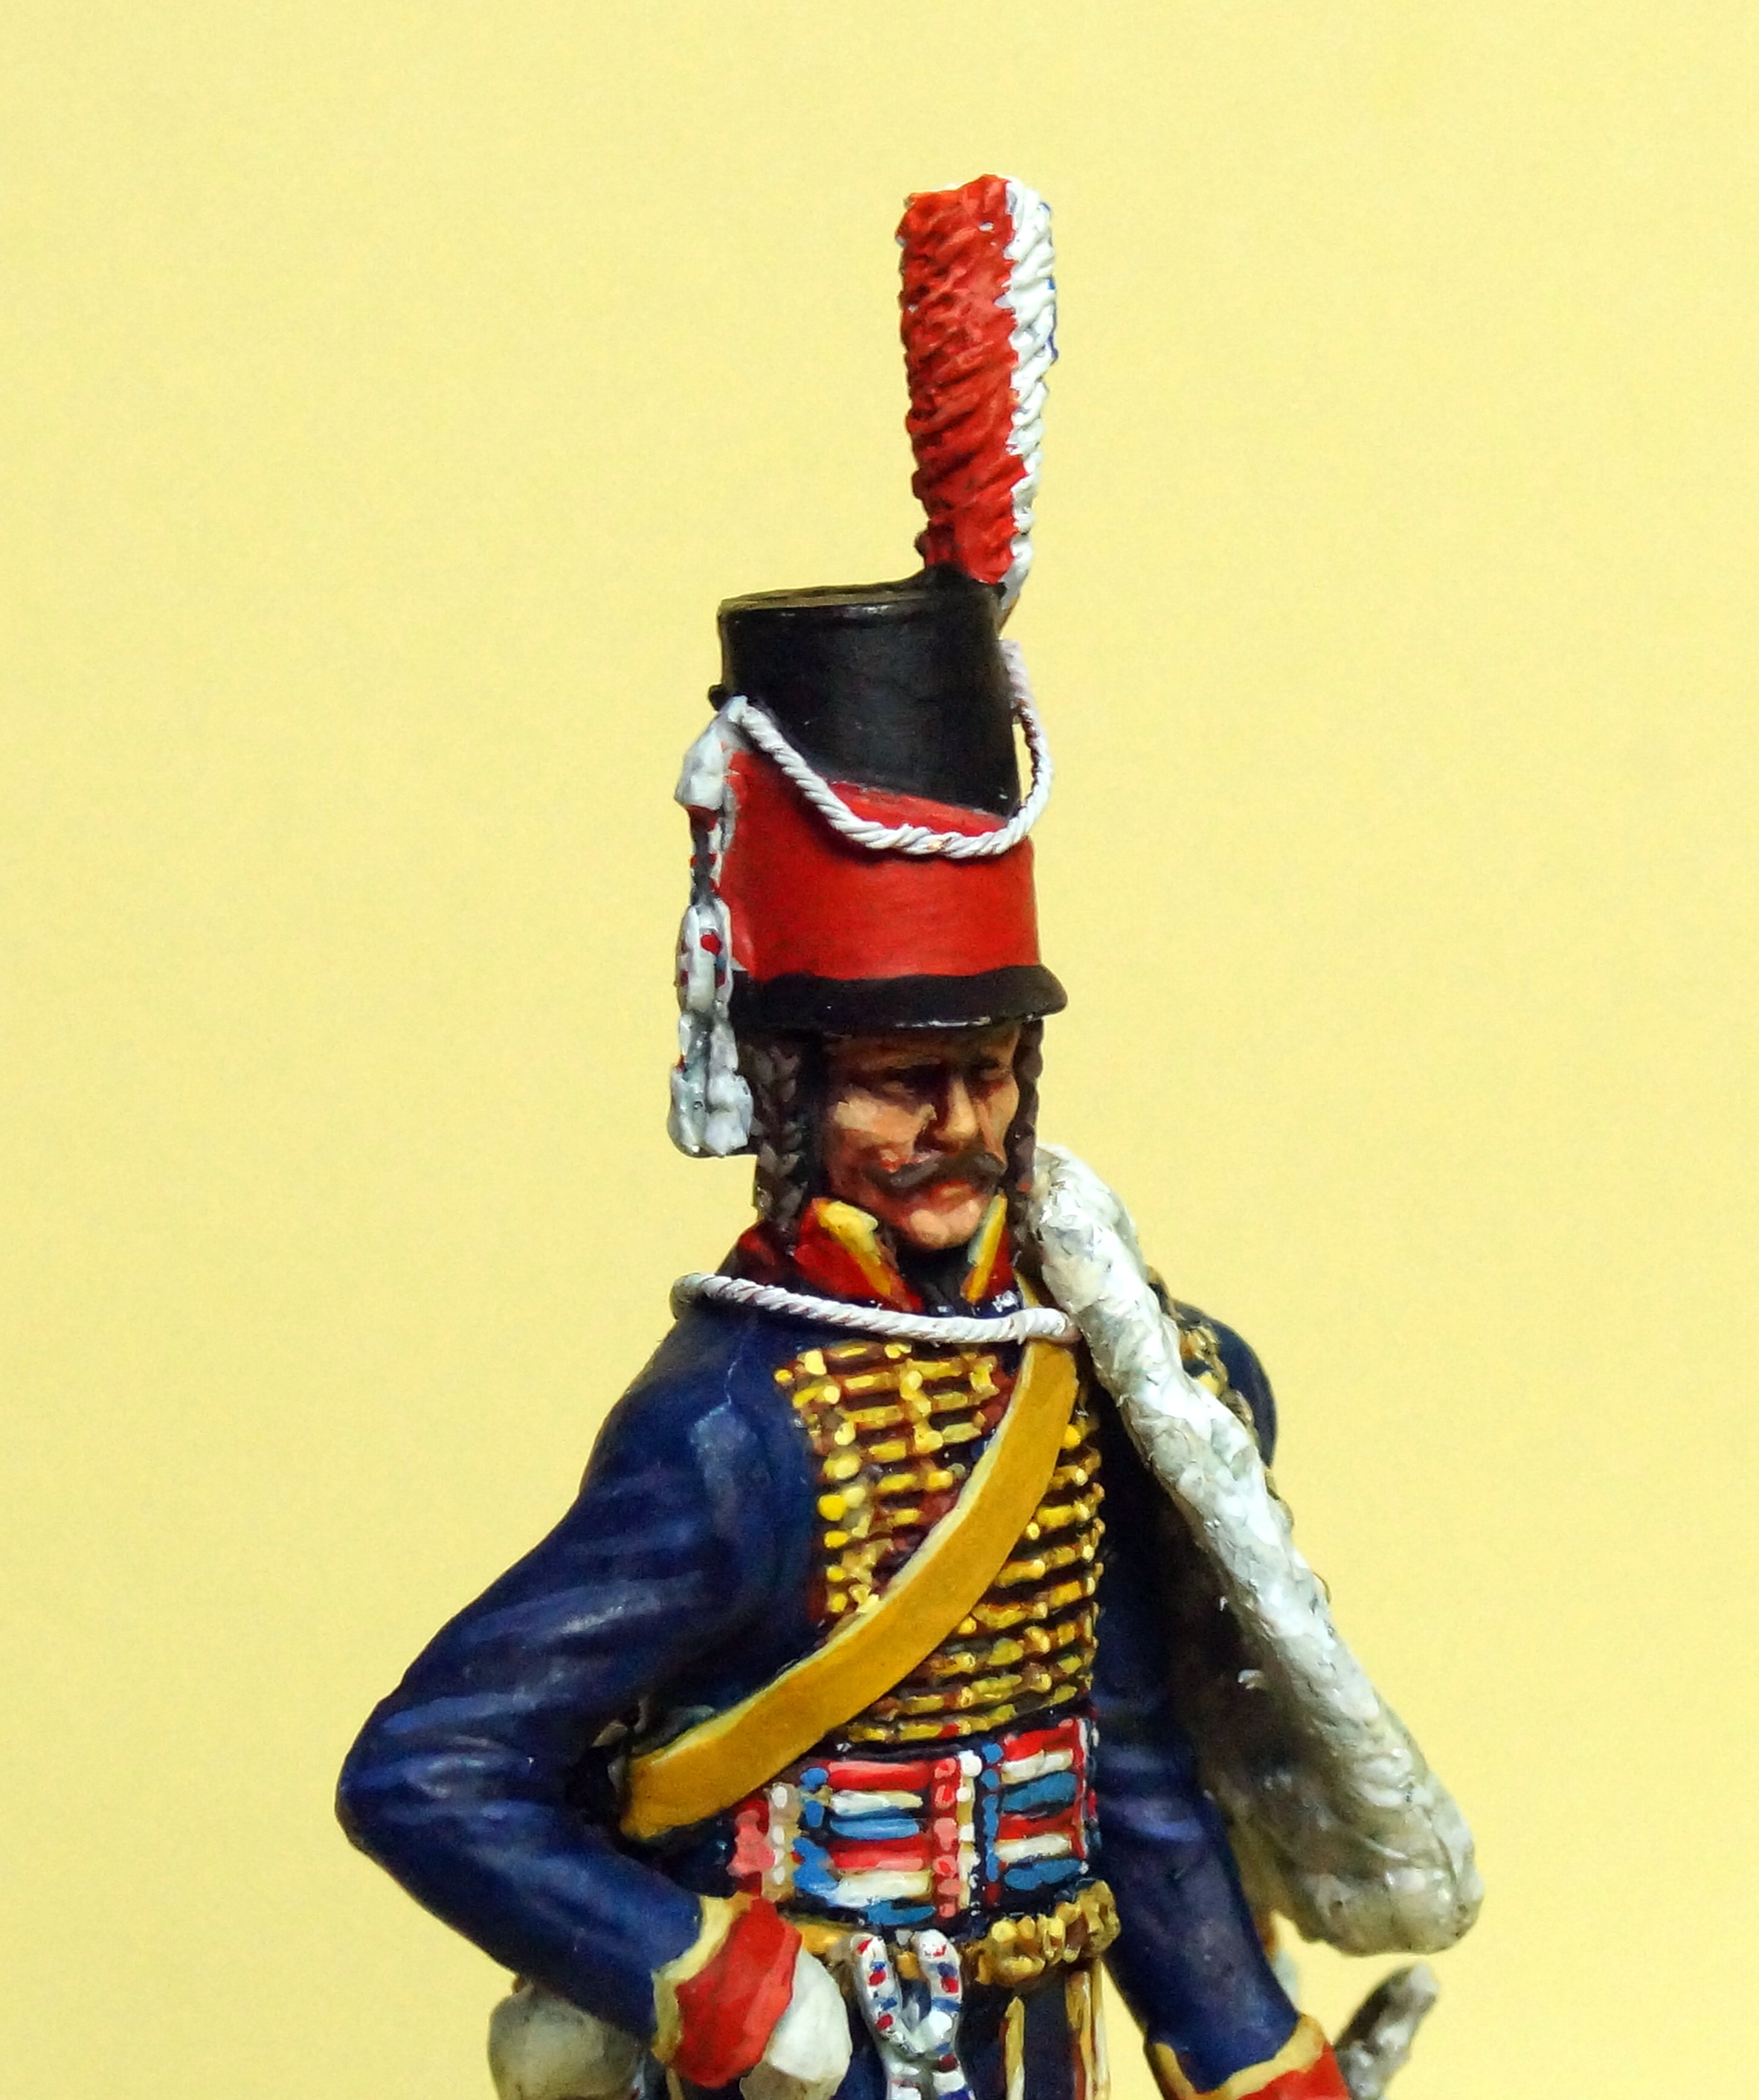
Dutch Hussars Batavian Republic

 I"m member of a Dutch figureclub: The Dutch society for modelfigures.

They produce a nice range of Dutch uniforms. At this moment they produced several figures of the Batavian Republic.
The figures are not difficult to assemble and rather simple. So I mostly try to improve them. I did so with these two figures. You see the figures as you cab buy them and my detailed results.
The red one is a Guard Hussar, the blue one a Hussar.
scale is 54 mm, painting is done in Vallejo and Contrast from Citadel


maandag 20 juni 2022

Grenadier Bataafse leger

 This is a grenadier of the Batavian Army in  1799 during the second coalition war against France. An Anglo-Russian army did an unsuccessful invasion in the northern part of Holland. The Batavian party was pro-french and successfully drove the English back int the sea.

Figure is made of Historex parts and painted in acrylics.


dinsdag 1 februari 2022

Swiss regiment Meuron 1783

 The Swiss regiment Meuron served as a mercenary force for the Dutch East Indies Company in South Africa.

Left figure is a medicin ( chirurgijn) A metal figure from  https://www.modelfiguren.nl , 54 mil.

Richt one is a selfmade conversion. I used an extra head from the medicin , torso from a Historex napoleon figure, arms from the Airfix Scot.

Painting is done in Valejo acrylics and Citadel Contrast


maandag 17 januari 2022

Drummer 80-years war


 I had some left-overs from previous builds and used them to construct my own drummer.

The Dutch ModelSoldiers Society ( https://www.modelfiguren.nl ) has made a 80-years war drummer but it is more fun to make your own.


I used the body of the Airfix musketeer, the drum is from the Dutch modelsoldiers society ( Tamboer regiment Leefdael) Head also from the society( Hoofdjes 80-jarige oorlog) . Arm are from my Historex sparesbox and one arm from the Leefdael Tamboer. I also used the other hand with the drumstick.
You have to drill a hole into the body to attach the drum.


Straps are made of metal foil. It looks like the strap is going under his collar, but you have to cut the strap right at the underside of the collar .Otherwise you cannot make the strap going the right way.


After priming painting is done. Face in oils and clothes and drum in acrylics


zaterdag 27 november 2021

Verre jager or far-hunter

 This is a quite unusual figure in my collection.

A "verre jager"or far-hunter during the siege of Leiden.

https://nl.wikipedia.org/wiki/Beleg_van_Leiden_(1573-1574)


The many ditches around the besieged city limited the use of cavalry or regular infantry. The ditches were too wide to simply leap across but vaulting poles alowed easy crossings.

The disc at the forward end prevented the pole from sinking too deep into the mud. At the other end there was a metal spike, so you could use the pole as a spear: ideal for raids.

The raiders were common peasants and they wore a white cloth or handkerchief around their arm as a field sign. They also carried a dagger behind their hip.

The figure is made from Airfix parts.

Mostly Airfix Collector series : the musketeer.

Head is from Aifix multipose series: British army.

I 


The legs are a combination of Multipose Japanese army and Collectors Musketeer. I used metal pins to rein-force the connections.


The head was further improved with long hair and a woolen cap. Both made with Green stuff. As you can see I use thin metal for belt. At this moment I use metal tubes from  a mayonaise brand 😂 It is a bit thicker than lead-foil.

The arms are from my spares box ( I think, they were Historex). At first I cut off the hands, so I could place them at the right place on the pole and in the right position. 


Painting is fairly plain, so I used earthy colours. In the first instance I painted the cap grey but it looked rather boring. So now he has a red cap, more interesting to view.

It makes an interesting addition to my 80-years war collection


zaterdag 13 november 2021

Siege engineers

 As from now I will try to write my blog in English again. I joined several international modelling groups on internet and this way they can follow my blog more easier.

I'm currently working on several figures of the 80-years war. The NSM ( Dutch Society for Modelfigures   https://www.modelfiguren.nl/)  made several beautiful figures about this period and I bought some of them. But most figures I make are conversions.

This little vignette represents two engineers working around 's Hertogenbosch during the siege of the town.

I made these figures almost from scratch.
The main parts are from Airfix Collector series and besides that I used Magic Sculpt and Green Stuff.

First I started with the sitting engineer.
There is an illustration of an engineer in the book of Bouke the Groot (Osprey: Eighty years war) which I used as an inspiration source.


The upper torso is made from the torso of the Airfix pikeman or musketeer. The legs are from a Tamya figure of a seating officer.


Cut off the boots and replace them with the boots of the English Cavalier. Head is from the Airfix musketeer.


New (fluffy) trousers are made of Magic Sculpt and the boots are made with Green Stuff.


The engineer is holding a wooden board on which I glued a piece of thin paper. You have to look in your spares-box for the right arms. I cut off the left hand and put it in the right holding position. Use thin wire to attach the hand in the right way to the arm. Then finish off with Magic Sculpt.
The large sash is made of Magic Sculpt.
Before I start painting , the hole figure is covered with PVA glue. I put a thin layer over the entire figure. This way little gaps etc. are filled in, also the gap between the belts and the torse.  After drying I spray  an undercoat of grey primer  on the figure.
Face is painted in oils and the rest in acrylics.
After painting the basic layer I use  Citadel Contrast for shading. It's like painting with watercolours and you have to practice a lot on cheap figures to get the knack of it. But the result is very satisfying. It gives your figures more depth of colour.


I started with the underground after completing the first figure. Base is made from the lid of a jam jar. Then the bank of sand is build up with Das self hardening clay. After painting the base colour ( Grave yard earth from Citadel ) I use several colours of pastels to give it an earthy dry look.

Now on with the second chap  of this project!

It had to be a standing engineer next to the writing person.
Therefore I had to use the legs of the French curassier, because I needed the boots.

The legs are cut  and re-positioned on several places in order to get a standing person.
Then the wide trousers are made with Magic Sculpt. Upper part of the boots are made with Green Stuff.

Uper torso is from the English Cavalier. The arms are perfect to use as you can see.
The head is a metal one from one of the figures of the NSM  . I added a mall beard from Magic Sculpt(MS) .Hair is also done in MS.
Leather coat below the waist is made of Green Stuff. Sash with MS


Figure after painting


After finishing a paint job I let the figure dry overnight. Then I give it a coat of very matt varnish and with matte I mean really matte
I think there is only one kind of varnish which can do the job.


It's originally used by art painters but I never found a better product than this. 

This is the result. A nice little dio with bright colours. It'll give a nice touch of colour among the blue and green uniforms.


O, and the telescope the standing man is holding....
It's made of a gun shell 1/48 from an old Bandai Flak.
Never trow away anything. You might need it in future 😄